Building a putting green in your backyard can provide a convenient way to practice and improve your short game. It can also add an attractive and unique feature to your outdoor space, potentially increasing the value of your home. This comprehensive guide will take you through the steps to create your own backyard putting green, providing tips and advice along the way.
Here are the 7 steps to build a DIY putting green:
- Select materials and equipment
- Choose location
- Design your putting green
- Prepare your site
- Build your base
- Install your putting green surface
- Finish your putting green
By constructing an outdoor putting green yourself, you can save on labor costs, customize the design to suit your preferences, and gain a sense of accomplishment from completing the project. Imagine honing your golf skills at any time without the need to travel to a golf course or pay for practice sessions.
A DIY putting green provides a unique and engaging outdoor activity for friends and family to enjoy together. It could also add value to your property and enhance the overall aesthetic of your backyard.
This guide will teach you about the materials and tools needed, how to choose the right location, design considerations, and much more. If you have the time, consider reading the entire article to ensure you don’t miss out on any key steps!
How to Build Your DIY Putting Green Outdoors
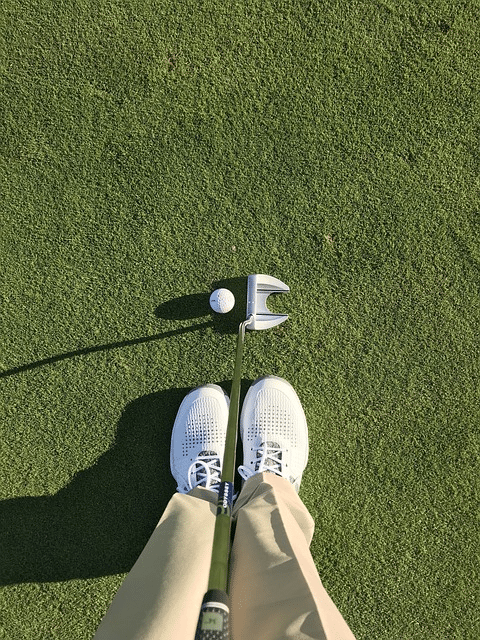
1. Select Materials and Equipment
You will need various materials and tools to build a DIY outdoor putting green. Here is the definitive list:
Materials
- Synthetic turf or bentgrass sod: Choose the type of surface you prefer for your putting green. Synthetic turf requires less maintenance, while bentgrass sod provides a more natural feel.
- Gravel: For creating a stable, well-draining base.
- Sand: To help with leveling and support the turf.
- Geotextile fabric: To separate the gravel layer from the soil and sand.
- Landscape edging: For defining the perimeter of the putting green.
- Landscape stakes: To secure the edging in place.
- Turf adhesive: For seaming synthetic turf pieces together, if necessary.
- Infill material: For synthetic turf, this could be silica sand or other specialized infill products.
- Hole cups: To insert into the putting green for golf balls.
- Flagsticks and flags: To mark the holes on the putting green.
- Optional landscaping elements: Such as fringe grass, plants, putting aids, or mulch for surrounding the putting green.
Equipment
- Shovel and spade: For digging and shaping the area.
- Wheelbarrow: For transporting materials.
- Rake: For leveling and smoothing out the base layers.
- Plate compactor or hand tamper: For compacting the base materials.
- Utility knife: For cutting the turf and geotextile fabric.
- Measuring tape: To measure and mark out the dimensions of the putting green.
- Carpenter’s level: To ensure a level surface and consistent slope.
- Hammer and mallet: For securing landscape stakes and other fasteners.
- Turf seaming tools: If using synthetic turf, these tools will help create seamless joints.
- Landscape fabric staples: To secure the geotextile fabric in place.
- Broom or power broom: For brushing in the infill material on synthetic turf and maintaining a clean surface.
- Optional: Sod cutter or rototiller if preparing an area with existing grass or vegetation.
Read more: The Best Putting Mats for Your Home
2. How to Choose a Location for Your Putting Green
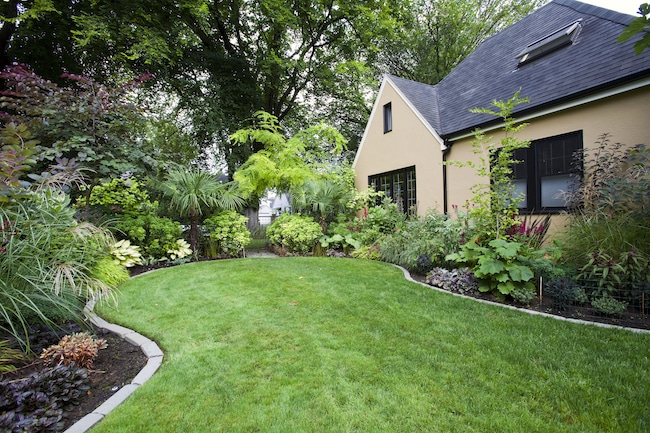
The ideal locations for do-it-yourself backyard putting greens should have good drainage, relatively flat terrain, and enough space to accommodate the desired size of the green.
Consider the proximity to your home, any existing landscaping features, and the amount of sunlight the area receives. It’s crucial to avoid locations near trees, as tree roots can interfere with the base and drainage, while falling leaves can create maintenance challenges.
3. Designing Your DIY Putting Green
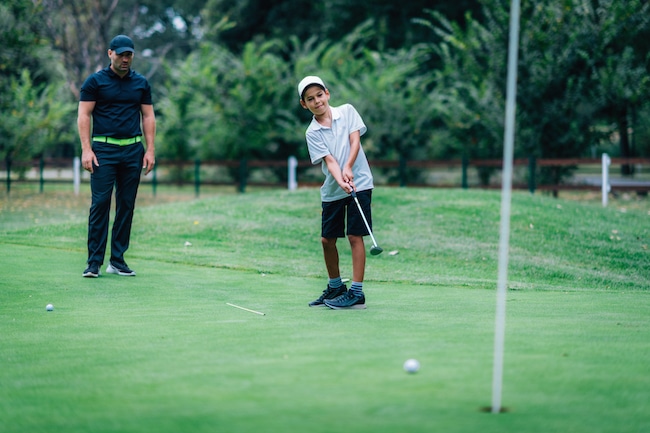
When designing your putting green, consider factors such as the size and shape of the green, hole locations, and any breaks or contours to create a challenging and realistic practice area.
Choose the right grass type for your putting green, considering factors like climate, maintenance requirements, and personal preference. Synthetic turf offers a low-maintenance option, while natural bentgrass provides a more authentic golf course feel but requires regular care.
If you want to make things easy, you can always get an outdoor putting green kit.
4. Preparing the Site for Your DIY Putting Green
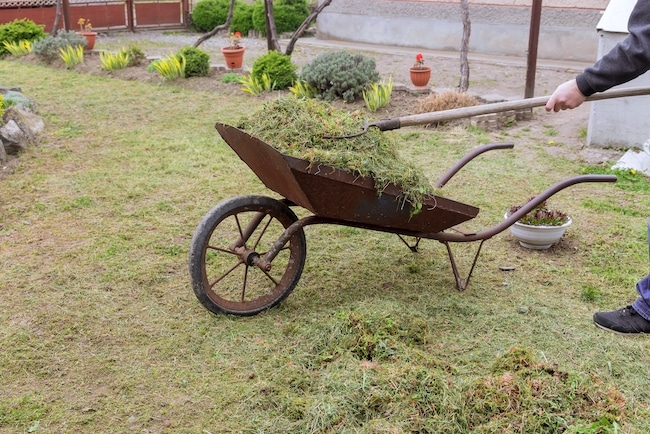
Before you begin constructing your putting green, you must prepare the site by clearing any debris, removing existing grass or vegetation, and leveling the ground. You may need to excavate the area to create the proper depth for your base materials and drainage system.
At the very least, you’ll need a rake, shovel, and spade. However, a wheelbarrow and even a sod cutter may come in handy too. Having the right tools for the job will make the process much quicker and hassle-free.
Make sure to install a suitable drainage system to prevent water from pooling on your putting green.
5. Building the Base of Your DIY Putting Green
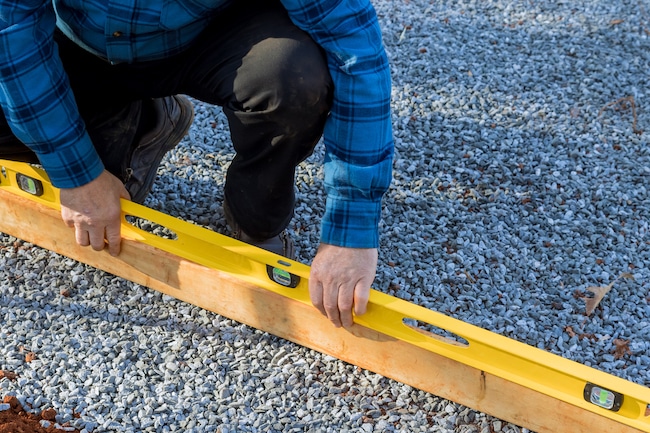
Now for the main event: your putting green installation. A solid, well-draining base is crucial for the longevity and performance of your putting green. You can use materials such as crushed stone or sand to create a stable, level surface. To build the base, start by laying down landscape fabric to prevent weeds from growing through your green. Add a layer of base material, compacting it as you go. Ensure that the base has the correct slope for drainage and contours before installing the putting green surface.
6. Installing the Putting Green Surface
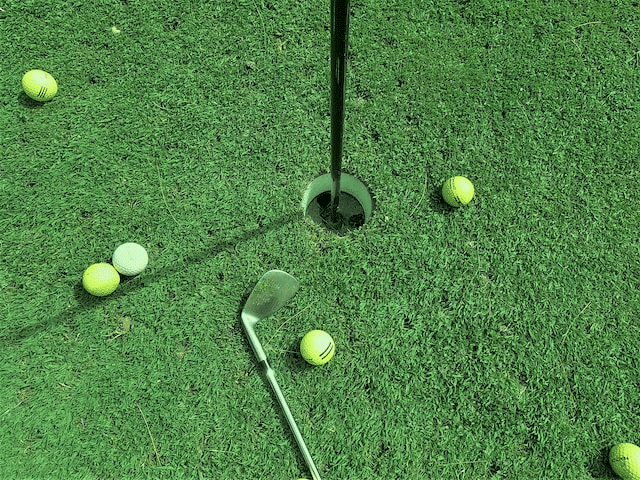
Two primary options for putting green surfaces are synthetic turf and natural bentgrass. Synthetic turf requires less maintenance, and you can install it much quicker, while natural bentgrass offers a more authentic golf course experience but requires more care.
Roll out the turf over the prepared base to install synthetic turf and secure it with turf staples or nails. Seam together multiple pieces if necessary, ensuring a tight fit between them.
For a natural bentgrass green, spread the bentgrass seed evenly over the prepared base and keep the area consistently moist until the grass has established itself.
7. Finish Your DIY Putting Green
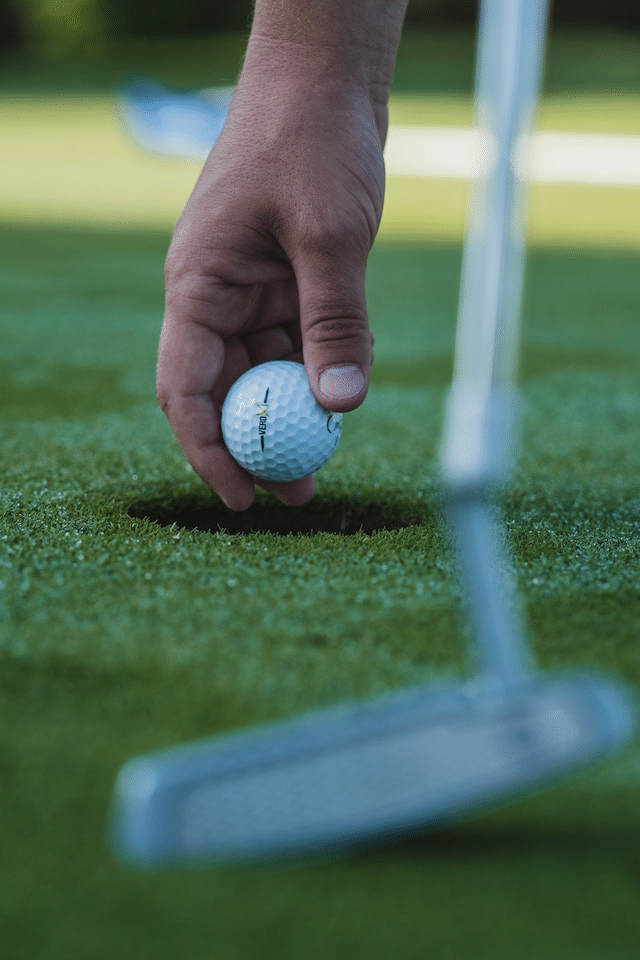
Once you’ve installed the putting green surface, it’s time to add the finishing touches. Install cups and flags in the desired locations to create a realistic practice environment. If you have used synthetic turf, seam the turf edges together and trim any excess material. Install fringe and surrounding landscaping, such as flower beds or decorative rocks. These will help to enhance the aesthetic appeal of your DIY backyard putting green.
Congrats, now you can use your back garden as a way to gain strokes on your friends!
Read More: How to Read Greens
How Much Does a DIY Putting Green Cost?
Before deciding how to make a putting green, you should probably sum up the cost.
In total, the cost of building a DIY putting green can range from $500 to over $10,000, depending on the size, materials, labor, and additional landscaping elements. A simple putting matt will cost a lot less than a full-on green.
Remember that these costs can vary greatly based on your specific project and location. Researching local prices and shopping for the best materials and labor deals is important to help keep costs down.
Here’s a rough breakdown of the costs associated with building a DIY putting green:
- Synthetic turf or bentgrass sod: $2 to $5 per square foot for synthetic turf or $0.50 to $1 per square foot for bentgrass sod. The price will vary based on the quality and type of turf or sod.
- Gravel: Approximately $30 to $50 per ton. The amount needed will depend on the size and depth of the putting green base.
- Sand: About $50 per ton. The amount of sand needed will depend on the size of the putting green and the depth of the sand layer.
- Geotextile fabric: Approximately $0.50 to $1 per square foot. You will need enough fabric to cover the entire area of the putting green.
- Landscape edging: Prices can range from $1 to $5 per linear foot, depending on the material and style chosen.
- Landscape stakes, turf adhesive, and infill material: These smaller items can add up to around $50 to $150, depending on the size of the putting green.
- Hole cups, flagsticks, and flags: These can range from $10 to $50 per set, depending on the quality and style.
- Optional landscaping elements: The cost of additional landscaping will vary depending on the materials and plants chosen. This can range from a few hundred to a few thousand dollars.
- Tools: If you don’t already own the necessary tools, you may need to purchase or rent them. The cost of tools can range from $100 to $500, depending on the quality and whether you buy or rent.
- Labor: If you choose to do the work yourself, you can save on labor costs. However, if you hire a professional or a landscaping crew, expect to pay anywhere from $50 to $100 per hour for their services.
Tips to Build a Successful DIY Putting Green
Basic Maintenance Tips
To keep your putting green in good condition, it’s essential to perform regular maintenance. This may include mowing and watering (for natural grass greens), brushing and grooming synthetic turf, and repairing any damage to the surface or base as needed.
How to Keep Your Putting Green in Good Condition
Proper care will ensure that your putting green performs well and lasts for many years. For synthetic turf, periodic infill replacement, seam repair, and cleaning can help maintain the surface’s appearance and functionality. Regular mowing, fertilizing, and aeration for natural grass greens will promote healthy grass growth and prevent diseases or pests from taking hold.
Common Maintenance Problems and Solutions
Some common maintenance problems with putting greens for backyards include poor drainage, weeds, and uneven surfaces. By addressing these issues promptly, you can maintain a high-quality practice area.
Ensure that your putting green has a proper drainage system in place, and routinely inspect it for signs of clogging or damage. Use landscape fabric beneath your putting green to discourage weed growth and address any weeds that do appear promptly.
If your putting green surface becomes uneven, this may be a sign that the base has settled or become damaged, which will require repair.
Read more: How To Putt Better
Conclusion
The benefits of building a DIY putting green in your backyard are numerous. Not only will you have a convenient and enjoyable way to practice and improve your putting skills, but you’ll also be creating a unique and valuable addition to your property. By following the steps outlined in this guide, you can successfully construct a putting green that meets your specific needs and preferences.
In summary, the key steps to building your own backyard putting green include choosing the right location, designing the green with factors like grass type and contours in mind, preparing the site, building a solid base, and installing the putting green surface. Once your putting green is complete, it’s essential to perform regular maintenance to keep it in top condition.
Whether you choose to use a putting green kit or build your own putting green from scratch, the result will be a custom practice area that allows you to hone your putting skills and enjoy the game of golf in a whole new way. Remember, patience and attention to detail are crucial for success, so take your time and enjoy creating your own backyard putting green.
DIY Putting Green — Frequently Asked Questions
What Makes a Good Putting Green?
A good putting green should have a smooth, even surface, proper drainage, and a challenging layout that mimics the conditions found on a real golf course.
Does a Putting Green Add Value to a Home?
A well-maintained and attractive putting green can add value to a home by providing potential buyers with a unique and desirable feature.
How Long Do Putting Greens Last?
The lifespan of a putting green depends on factors like the type of surface, the quality of the base and drainage system, and how well you maintain it. With proper care, a backyard putting green can last for many years.
What About Putting Green Kits?
Putting green kits provide the materials and instructions needed to create a backyard putting green. While these kits can simplify the process, they may not offer the same level of customization or control over the design as building your own putting green from scratch.
Can I Pay Someone to Do This Instead?
You can certainly pay somebody to build your putting green rather than make it yourself. Professional companies specialize in designing and installing backyard putting greens. While this option is more expensive than building a DIY putting green, it can save time and effort and ensure a high-quality result.
How Long Does It Take to Build a DIY Putting Green?
The time it takes to build a DIY putting green depends on where you’re building it, its size, and the materials you have at your disposal. For easier builds, you may be able to create your DIY putting green within a day. However, several days is more likely. For the most complex builds, a week is a closer estimate.
What Materials Do I Need to Build a DIY Putting Green?
To build a DIY putting green you will need the following materials:
* Synthetic grass or bentgrass sod
* Gravel
* Sand
* Geotextile fabric
* Landscape edging
* Landscape stakes
* Turf adhesive
* Infill material such as silica sand
* Hole cups
* Flagsticks and flags
* Landscaping elements (optional)
Sam has been playing golf for over 20 years and founded Impact Golfer. As a teenager, he discovered his love for the game using his grandad’s clubs, including a wooden driver. As a golf obsessive, Sam plays whenever possible, regularly competing in matchplay with his friends and in tournaments at his local club. He's fortunate to have a close friend who is a club pro– he has tested almost every type of equipment on the market (no freebies yet).
Sam has a handicap index of 13 and likes playing at the Metro Golf Centre near his home in London. He putts with a Taylormade Spider because Rory uses it but regrets selling an old Scotty Cameron putter on eBay.


